Roof leaks happen to many homeowners, usually causing both stress and harm to parts of the house. If a roof leak occurs, mold can grow, insulation may deteriorate and structural problems may also appear when it is not solved as soon as possible. It is very important to know how to spot and seal roof leaks so your home stays safe and sound. You will learn everything about sealing your roof, find out repair tips and decide when to get a roofer involved. How to Tackle and Resolve a Roof Leak.
Step-by-Step Guide: How to Seal Roof Leaks
Preparing Your Roof for Repair
Prepare the work area before starting any repair to avoid harm and ensure a better result.
Ensure you use a firm ladder that is standing on level ground as the first step to climbing on your roof. Shoes with no slip can aid you and using a harness also offers more protection. You should not try to fix things during rough weather since this could result in accidents or more harm.
The first thing to do is figure out where in the house the problem is visible. Examine the ceilings and walls for water spots, check for mold or check insulation that is shaped like small pillows.
Once you pick out the interior signs, draw a line upwards to see where the main outside entrance probably is. Get outside, observe and look at the area above the signs you had seen indoors.
After that, take away any rocks, leaves or old materials found in the area as possible. Removing any dirt or debris from the surface allows sealants and other materials to stick and patch the leak without problems.
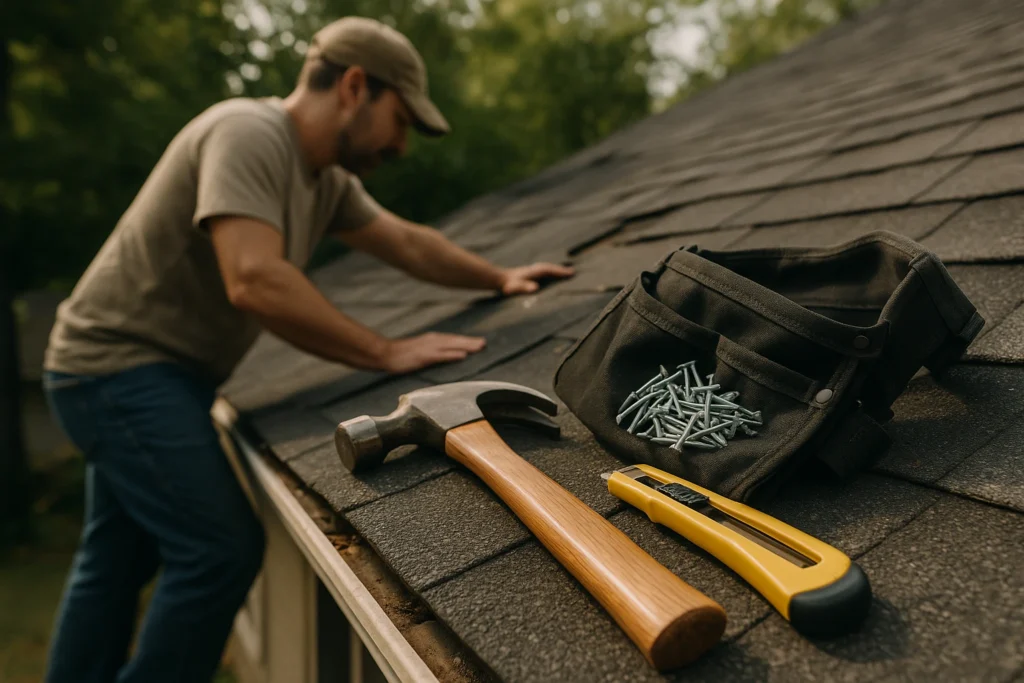
DIY Roof Leak Repair: Tools and Materials You’ll Need
To make your DIY repair as efficient as possible, gather all the necessary tools and materials in advance.
Common items include a roofing sealant, roofing cement, a caulking gun, a putty knife, a utility knife, roofing nails, a hammer, roofing tape or fabric, replacement shingles if necessary, and safety gear.
Being fully prepared before climbing up the ladder not only makes the job go smoother but also reduces the risk of injury or mistakes due to rushing.
When the hole is exposed, place roofing tape or fabric right over it. After that, apply the roofing cement over the tape with a putty knife to completely seal the area. Should you remove the old shingles, fit the new ones in and secure them with nails. Liquid roofing cement should be put on the nail heads and applied around the edges of the shingles to help the repair and prevent water from getting in.
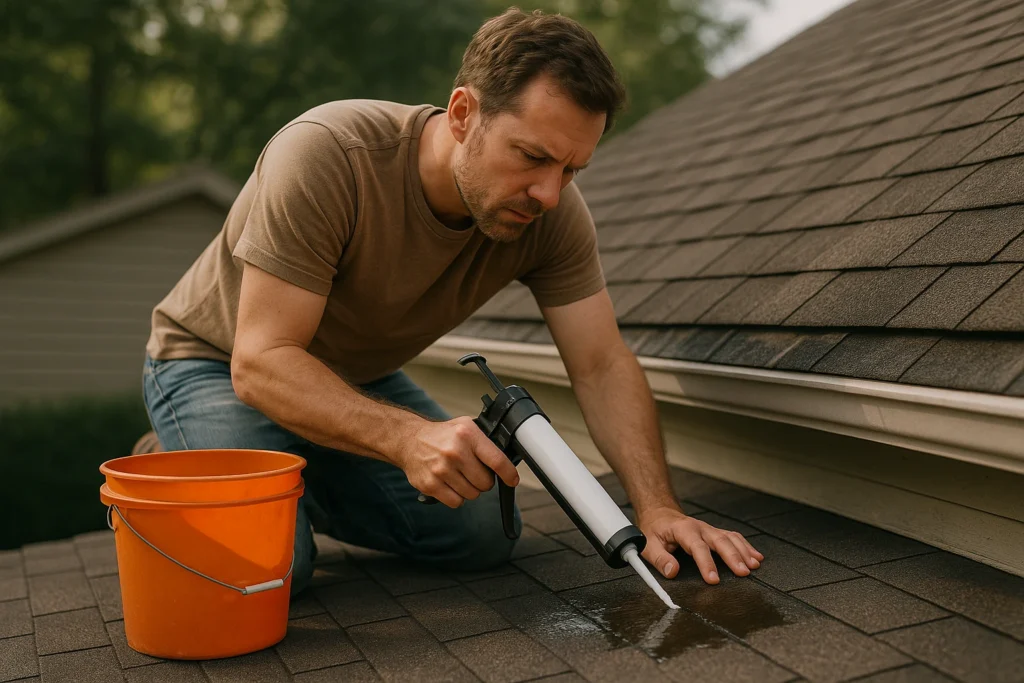
Fixing a Roof Leak with Sealants and Roofing Cement
When you have little leaks, sealants and roofing cement can seal up joints, seams and cracks. First, wash the area and get rid of all old materials. Put a generous layer of roofing cement over the cracks or holes with a putty knife.
When the area to be sealed is bigger or delicate such as around vents or joints, a caulking gun with silicone or polyurethane sealant is best to use. They are flexible which allows them to change size with temperature changes and keep their seal over time. Spread the cement or sealant out evenly and then allow it to dry as recommended.
Repairing Flashing and Roof Joints
Roof features such as chimneys, skylights and vents are areas where leaks are common because of the flashing installed there.
A flashing is a metal stripe that serves as a barrier between the features and the top of the house. In time, flashing can deteriorate, move or crack and this means water can enter your home.
First, look at the flashing to find out if it is damaged or pulled away from the other parts. If required, replace the old flashing with a pry bar or a utility knife.
Cut flashing and shape it so that it fits easily into the area. Secure the shingles in place using roofing nails and put roofing cement along the sides to ensure they are properly sealed. While plumbing, pay extra attention to joins and corners, since these are the sections that are likely to leak.
Appropriately putting in and sealing your flashing helps your home’s roof last longer and avoid frequent leaking around critical places.
Tips for Preventing Future Roof Leaks
Regular Roof Inspection and Maintenance:
Fixing small roof problems as they arise is the top way to prevent major issues. Inspect your roof at least two times a year, in spring and fall and also after any heavy weather occurs. While inspecting the roof, watch out for missing, cracked or curling shingles. Be sure that the flashing is not damaged and that you don’t see sagging or any water gathered. If you detect something wrong, fixing it fast ensures it does not develop into something costlier. When you clean your gutters and downspouts, you help avoid water from pooling on your roof which can lead to leaks.
If you find any potential issues, addressing them promptly can prevent them from turning into bigger, more costly problems. Cleaning out gutters and downspouts also helps prevent water from backing up onto the roof, which is a common cause of leaks.
Proper Roof Ventilation and Drainage:
Effective ventilation is necessary for avoiding roof leaks. If your attic is ventilated, moisture will not increase which can prevent damage to your roof and make it easier for mold to grow. It is important to clear and check soffit and ridge vents so that air flows through and any moisture inside gets out.
Along with making sure your property has good ventilation, also pay attention to drainage on your roof. This also means you should clean your gutters and make sure water drains through the downspouts with no obstruction. A roof that drains adequately prevents standing water from building up which could cause the roof to lose some of its protection.
Using Quality Materials for Roof Sealing:
Choosing good quality materials for your roof can increase its lifespan. Whenever doing repairs or routine maintenance, it’s best to use quality roofing cement, hard sealants and shingles that stand up against your local weather.
By using cheap materials, you may save cash at first, though it often ends up costing you more later because of continuous issues. A decent seal that stands the test of time is possible with quality products.
Conclusion
While a roof leak could appear intimidating at the beginning, you can manage certain fixes yourself whenever you are ready. The most important thing is to notice a problem early, organize materials and make sure you seal it well. Should the damage cover a big area or be in a difficult location, it’s best to have professionals sort it out. If there’s a leak in your roof or you wish to take preventative measures at home, call Faver Roofing LLC.
We have a group of experienced professionals who perform many services, including roof inspections, planned maintenance and fixing any leaks in the best available materials. Contact Faver Roofing LLC now to book a free roof inspection that can keep your house safe from expensive water damage.
FAQs
Repair work can last a long time, especially if top-grade materials and sealants are used. On top of that, older roofs need to be looked at and maintained more frequently.
Simple leaks sometimes can be fixed using DIY techniques. However, if your leak is bigger or concealed, it is wiser to call a professional roofer.
Choose sealants that are made from elastomeric or polyurethane material. Because they stick well and are flexible, they are perfect for sealing roof joints, vents and flashing.