Steel roofing is celebrated for its durability, longevity, and energy efficiency, making it a top choice for homeowners. Yet many shy away from installing it themselves, considering it a job best left to professionals. However, with the right preparation, tools, safety measures, and a thorough understanding of installation techniques, installing steel roofing can be a rewarding DIY project. This comprehensive guide will walk you through everything you need to know about installing metal roofing from start to finish, covering essential materials, tools, installation steps, common challenges, and tips for a flawless outcome.
Preparation for Installation
Before you climb on the roof, gathering the right materials and tools is critical.
Essential Materials
- Steel Roofing Panels: Choose between standing seam or corrugated panels depending on your aesthetic preference and budget.
- Underlayment: Use high-quality synthetic underlayment for moisture protection and enhanced durability.
- Screws/Fasteners: Use self-tapping screws with rubber washers to create a watertight seal.
- Flashing: Necessary for sealing valleys, chimneys, vents, and roof edges.
- Ridge Caps: Cover the peak of the roof to prevent water entry and allow ventilation.
- Drip Edges: Protect the edges of your roof from rainwater runoff and damage.
Required Tools
- Power drill or cordless screwdriver
- Tin snips or power shears for cutting metal panels
- Measuring tape for precision
- Chalk line for marking straight installation lines
- Ladder, roof jacks, and safety harness for secure access to the roof
- Gloves and safety glasses for personal protection
Steps for Installing Steel Roofing

Step 1: Preparation of the Roof Deck
Start by inspecting the existing roof deck. Remove old roofing materials if present, and ensure the roof deck is clean, dry, and structurally sound. Repair or replace any damaged plywood or OSB sections. It’s crucial to have a smooth, solid surface as metal panels are unforgiving to imperfections.
Next, roll out the underlayment horizontally across the roof deck beginning at the bottom edge. Overlap each row by at least 4–6 inches and secure with roofing nails or staples. Seal seams and overlaps with roofing tape. The underlayment acts as a moisture barrier, guarding against water infiltration and condensation buildup beneath the metal panels.
Step 2: Laying the First Row of Steel Panels
Begin installing steel panels at the eaves (lower roof edge), working your way up toward the ridge. Use a chalk line to ensure the first panel is perfectly aligned with the roof edge. Proper alignment here is pivotal for the entire roof’s appearance and effectiveness.
Each panel should overlap the adjoining one by at least one ridge to create a watertight seal, preventing water from seeping beneath. Panels should also overhang the drip edge by about 1 inch to direct water away from the fascia.
Step 3: Fastening the Steel Panels
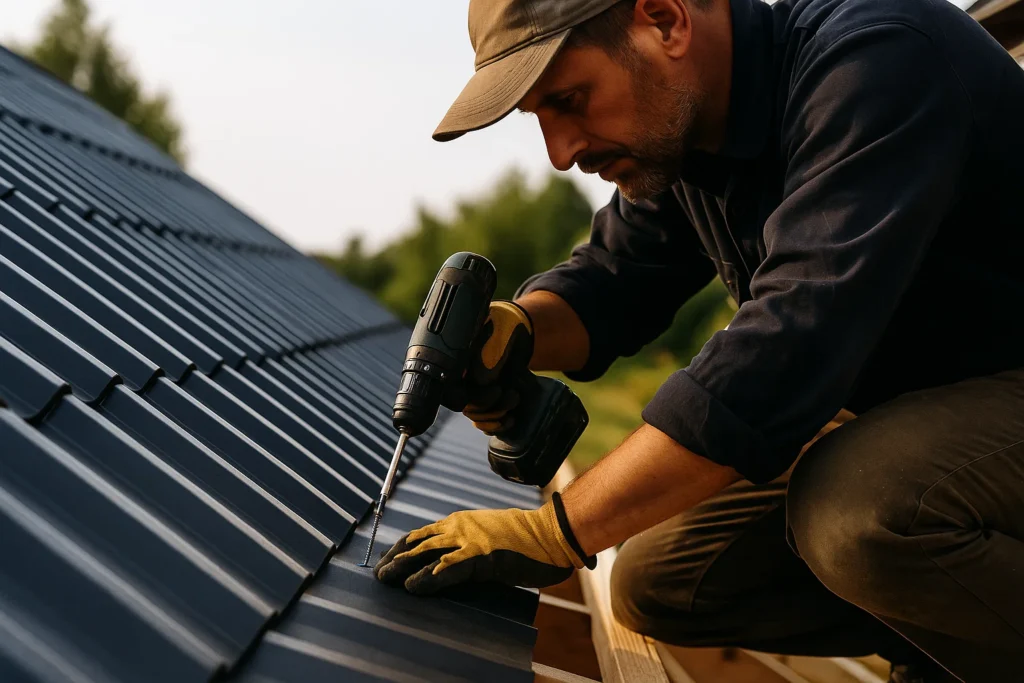
Once panels are positionally aligned, fasten them to the roof deck using self-tapping steel roofing screws with rubber washers. Place screws at the highest points of the panel ribs—these are less prone to water pooling.
Follow manufacturer-recommended screw spacing, typically every 12 to 18 inches along the ribs and eaves. Avoid over-tightening screws as it may distort the metal or break the rubber washer, compromising the waterproof seal. Fastening correctly is key for a watertight, wind-resistant roof.
Step 4: Installing Ridge Caps and Flashing
Cut and apply flashing around chimneys, vents, dormers, and valleys—areas vulnerable to water intrusion. Flashing should overlap panels and underlayment adequately to maintain waterproofing.
Attach ridge caps firmly along the roof’s peak, securing them with screws through the caps into the roof deck. Ridge caps cover the gap where two panels meet at the ridge and also allow for ventilation. Use a quality sealant and closure strips under ridge caps to prevent insect entry and water leaks.
Step 5: Final Inspection and Cleaning
After all panels and trims are installed, perform a final inspection. Check for loose or missing screws, panel misalignments, and any visible gaps. Make sure all fasteners are tight but not overtightened, with rubber washers fully compressed to seal.
Clean the roof surface of any metal shavings, debris, or spent fasteners to avoid corrosion. Removing debris immediately prolongs the life of your steel roof and keeps your new roof looking pristine.
Tips for a Successful Installation
Accurate Alignment and Measurement
Metal roofing demands precision even slight misalignments become noticeable and can cause leaks. Use your tape measure and chalk line consistently. Measure twice, cut once.
Safety Measures
Roof work is inherently dangerous. Always use sturdy ladders, fall protection harnesses, non-slip shoes, gloves, and eye protection. Avoid working in wet or windy conditions.
Avoiding Common Mistakes
- Insufficient panel overlap: Leads to leaks.
- Wrong fasteners: Use only corrosion-resistant, self-tapping screws with rubber washers designed for metal roofs.
- Skipping underlayment: Increases risk of moisture damage.
- Over-tightening screws: Deforms panels and ruptures washers.
- Not sealing penetrations: Use proper flashing and sealants around chimneys, vents, and skylights.
Additional Insights and Challeng
- Cutting Panels: Use tin snips for small cuts and power shears for extensive trimming. Always wear gloves to avoid injury.
- Handling Long Panels: Large roofing panel lengths can be unwieldy; it is advisable to have at least one helper and use panel lifters for safety.
- Ventilation: Proper ventilation beneath metal roofs prevents condensation buildup, which can damage the roof deck.
- Environmental Considerations: Steel roofs are recyclable and often come with substantial recycled content, making them environmentally favorable.
5. Conclusion
Installing a steel roof is a doable project for homeowners and DIY enthusiasts who plan carefully and follow safety and installation guidelines. The benefits of steel roofing—its longevity, durability, and energy savings—are well worth the effort.
For an impeccable outcome:
- Choose quality materials and tools
- Take your time with measurements and alignment
- Follow all installation steps meticulously
- Wear appropriate safety gear
- Consult manufacturers’ instructions for specific products
If at any point the project feels overwhelming, do not hesitate to contact a professional roofer. Proper installation is critical for your home’s protection and investment.
FAQs
Installing a steel roof is a manageable DIY project with the right tools, preparation, and safety precautions. While it may require some physical labor and attention to detail, following the steps outlined in the guide can make the process smoother.
You will need steel roofing panels, underlayment, fasteners (self-tapping screws with rubber washers), flashing, ridge caps, drip edges, and tools such as a power drill, measuring tape, chalk line, and tin snips or power shears.
Yes, you can install steel roofing over existing shingles if the roof deck is sound. This is a common method for re-roofing, as it saves time and labor. However, it’s important to ensure the old shingles are securely attached and free of damage.
Use tin snips for smaller cuts or power shears for larger panels. Make sure to wear gloves to protect your hands from sharp edges. A circular saw with a metal-cutting blade can also be used for longer, straight cuts.
Use flashing and proper sealants around all roof penetrations such as chimneys, vents, and skylights. Ensure the flashing overlaps the panels and underlayment, and seal any gaps with high-quality roofing sealant.
When installing the first row of steel panels, ensure they overlap the adjacent panel by at least one ridge. For long-lasting waterproofing, each panel should also extend slightly beyond the drip edge.


