A leaky roof is one of the most common and immediate home maintenance problems. A simple leak may result in water damage, mold, and structural issues that are expensive to fix in the future. But luckily, you can learn how to patch a roof and avoid additional damage, and save your house. Whether it is a immediate problem of a roof leak following a storm or a slow leak that has left water stains on your ceiling, this guide will take you through the process of patching a roof leak, when a home repair job is safe to be attempted and when it is best to call a professional.
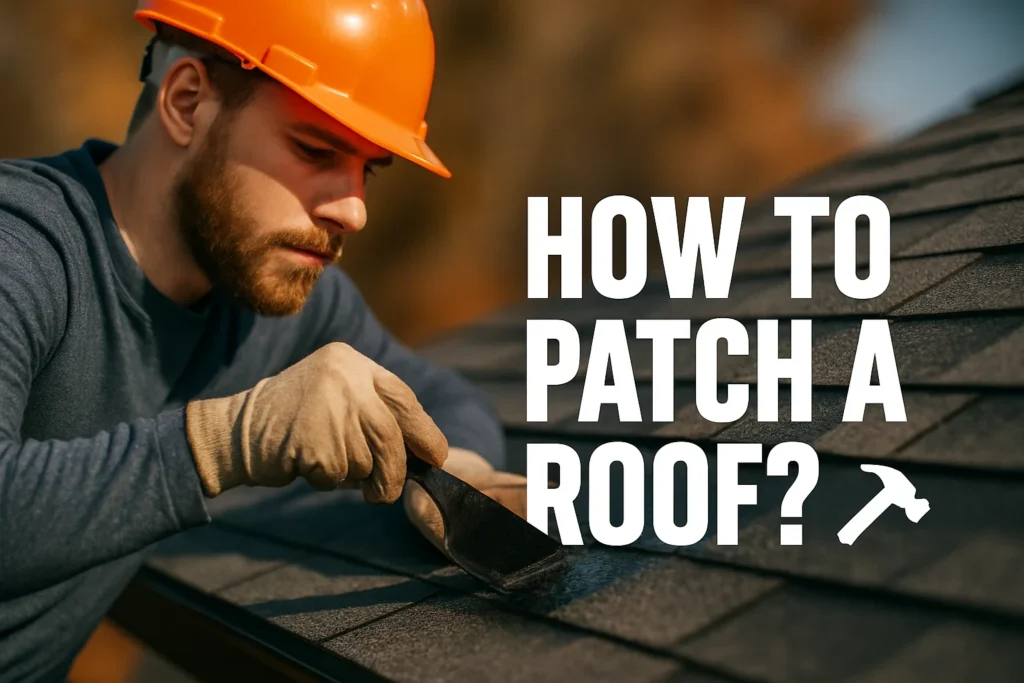
How to Patch a Roof: A Complete DIY Guide
Roof Problems can catch any homeowner off guard. It could be a minor leakage following a storm or general wear and tear; in either case, understanding how to tackle the problem of minor roof damage yourself to save time and money. Roof patching does not necessarily have to be a professional job, as most of the problems may be solved with proper tools, a bit of safety measures, and proper guidelines.
Signs You Need to Patch a Roof
You cannot see all the damage done to the roof, but you can look out to several signs which indicate that your roof requires some patching:
- Stains on ceilings or walls: This is an obvious indication that water is finding its way in through the roof.
- Losing, broken, or curled shingles: This may make your roof prone to leakage.
- Granules in the gutter: When you begin to find roof granules in the gutter, your shingles could be deteriorating.
- Wet attic insulation: A leaky roof will usually be indicated by moisture in your attic.
- Daylight in the attic: This means that water can certainly enter.
- Early action on these indications can save from more structural damage and costly repairs in the future.
List of Tools and Materials
When patching a roof, the first thing to do is to have the proper tools and materials. The following is a list of things you will generally require:
- Ladder and safety harness (for safe roof access)
- Flat pry bar or roofing shovel (for lifting old shingles)
- Roofing nails and a hammer
- Roofing cement or roofing sealant
- Roofing tape or membrane patch (for temporary fixes)
- New shingles or patching materials
- Utility knife or roofing blade
- Roofing underlayment (if needed)
- Caulk gun (if using liquid sealant)
These things will be needed during the job, so having them prepared in advance will make the task easier and avoid delays or accidents.
Step-by-Step Instructions to Patch a Roof
The basic steps of how to patch a roof the right way are as follows:
- Inspect the broken side: Locate where it is broken. Remove the loose debris, nails or broken shingles.
- Old shingles: Old shingles will be removed by use of your pry bar, taking care not to spoil the new shingles. Carefully avoid tearing the underlayment unless that is in poor condition as well.
- Repair underlayment (as needed): If the layer below is broken, cut and place new underlayment around the damaged area.
- New shingles: Slide the new shingles into place, align them with the old shingles and nail them into place.
- Seal edges: The edges of the new shingles should be sealed with roofing cement to render them water-tight.
- Cleaning and examination: Clear of tools and debris and examine the patch to make sure it is secure.
These basic steps will help in providing a decent patch and temporary or permanent protection based on the level of the damage and the materials used.
How to Patch a Roof Leak Like a Pro
Once a roof begins to leak, it is important to be able to react fast and efficiently in order to avoid additional interior or structural damage. Regardless of whether it is a small drip or you can see water stains on the ceiling, it can help a lot to know how to patch a roof leak like a pro.
How to Find the Source of a Roof Leak
Identifying the precise area where water is entering the house is one of the most difficult aspects of patching a roof leak. Water will travel before staining the ceiling inside the house, which is why it is important not only to examine the inside of the house but also to thoroughly check the roof surface. Damaged flashing, missing shingles or clogged roof vents are common offenders. Locating the source of a leak also means that repair efforts are not repeated and centered on the wrong spot.
How to Patch a Roof Leak with Roofing Cement and Tape
Roofing cement and sealing tape are one of the simplest temporary repairs. These are commonly applied to quickly and temporarily patch leaks and to many different types of surfaces such as shingles, flashing, and seams. Roofing cement will seal it water-tight, and a special tape will assist in holding the area together until a more permanent repair can be effected. These solutions are best suited to smaller leaks and repairs that need to be undertaken during or after storms.
When to Use Replacement Shingles in Roof Repair
Patching is not always sufficient, and you may need to resort to it in case some part of your roof is visibly damaged. In such instances, the best solution is the replacement of damaged or lost shingles. New shingles will enhance the integrity of the roof and also reinstate the water shedding capacity of the roof. Understanding when it is necessary to replace and not patch will also contribute to a more prolonged repair and will minimize the possibility of a repeated leak.
Emergency Tips for Patching Roof Leaks

A leaking roof might be a disaster when the weather is unfavorable, and worse when you are not set to fix it immediately. Whether it is a sudden leak in the middle of a storm or a sudden water penetration, a couple of emergency patching ideas can save you the trouble of excessive damage before a professional can take over.
How to Patch Leaking Roof Areas
- Cover the affected area with a waterproof tarp to avoid further penetration of water.
- Cover cracks or holes with roofing tape or sealant
- Inside the attic or ceiling, point polyplastic sheeting with duct tape to capture the water in a bucket.
- Create a temporary water diverter out of heavy-duty plastic and clamps or weights.
- Stuff small holes with roofing putty or silicone caulk to seal temporarily.
What to Do During a Storm or Rain
- Never try to go on the roof when it is actively raining, lightning, or high winds.
- Put buckets or containers directly under the leaks to collect water and minimize damage.
- Relocate furniture, electronics, and valuables out of the area of the leak.
- Use absorbent cloths, towels, or sponges to accumulate the water.
- Switch off the power in leaky areas to minimize electric shock.
How to Protect Your Home Until a Roofer Arrives
• Cover floors, electronics, and furniture with plastic sheeting or drop cloths.
• Operate fans and dehumidifiers to minimize dampness and eliminate mold.
• Take pictures of the damage for insurance purposes.
• Keep children and pets out of the damaged area.
• Observe the leak and examine of containers or barriers regularly.
Common Mistakes When Patching Roof Leaks
Although the process of repairing a leaking roof may appear to be simple, most homeowners commit certain mistakes that cause the issue to keep repeating. This can result in a simple repair leading to a more costly one. However, it is important to know what not to do as much as it is important to know what to do. The following are the pitfalls that are normally experienced when patching a roof leak.
Skipping Leak Detection Steps
- Many homeowners attempt repairs without identifying the true source of the leak.
- Water can travel far from the entry point before becoming visible.
- Relying only on visible damage often leads to missed problem areas.
- Incomplete detection can result in repeat leaks and hidden structural damage.
Using the Wrong Roofing Materials
- Not all patching materials work for every type of roof.
- Incompatible products may fail to seal properly or cause more damage.
- Using generic materials instead of matching the original roofing can shorten the repair’s lifespan.
- The wrong adhesive or sealant might peel, crack, or trap moisture.
Delaying Repairs That Cause Bigger Issues
- Waiting to fix a known leak can worsen water damage.
- Moisture buildup may lead to mold growth and insulation damage.
- Structural integrity can be compromised over time.
- Minor repairs become major expenses when left unattended.
Conclusion
The skill of roof patching is valuable for homeowners. Whether it’s the initial signs of damage to apply roofing cement or replacing the shingles, a little knowledge will take you a long way. Safety and accuracy are important whether you are doing a temporary repair or a complete patch. In case of emergency, you can use a temporary fix, such as a tarp or roofing tape, to cover your house until a professional can get there.
FAQs
Check the attic and see if there are water marks or mold, or dripping. Then look at the roof over that area and see if there is any damage to the shingles or any cracks.
Yes, minor leaks could be fixed by using roofing cement or by replacing shingles. Safety measures and correct tools should always be applied.
In the meantime, seal the leak with a tarp or roofing tape.
No. Wait until the roof is dry so you do not slip and so the materials stick well.
A proper home repair patch can last a few years. However, big or complicated leaks may require complete repair or replacement sooner.