How To Install Metal Roofing For Your Home?
Metal roofing installation is an excellent choice for homeowners looking to upgrade their roofs to something durable, energy-efficient, and visually appealing. In this guide, we’ll walk you through the process of installing metal roofing, highlighting key steps, tips, and the tools needed. Whether you are a DIY enthusiast or hiring professionals, this comprehensive article will provide everything you need to know about metal roofing installation.
Step-by-Step Guide to Installing Metal Roofing
Metal roofing installation requires careful planning, the right tools, and precision. Below is a breakdown of each step to ensure that the process is done correctly and efficiently:
- Prepare Your Roof Deck The first step in metal roofing installation is preparing the roof deck. Ensure that the underlying deck is clean, dry, and free of debris. Any damaged areas should be repaired before proceeding. Make sure that the deck is properly ventilated, as poor ventilation can lead to moisture buildup and damage to the roof.
- Install Underlayment Underlayment serves as a protective layer between the metal roofing panels and the deck. It prevents moisture from seeping into the structure and adds an extra layer of insulation. Begin at the lowest point of the roof and roll out the underlayment horizontally, overlapping each row as you go up. Secure the underlayment with roofing staples or nails.
- Lay Out the Metal Roofing Panels Before you begin nailing down the panels, carefully plan the layout. Start by placing the first metal roofing panel at the edge of the roof, making sure it is aligned properly with the roof’s edge. For a clean finish, overlap the edges of each panel. The number of panels needed will depend on the roof’s dimensions, so measure carefully before cutting.
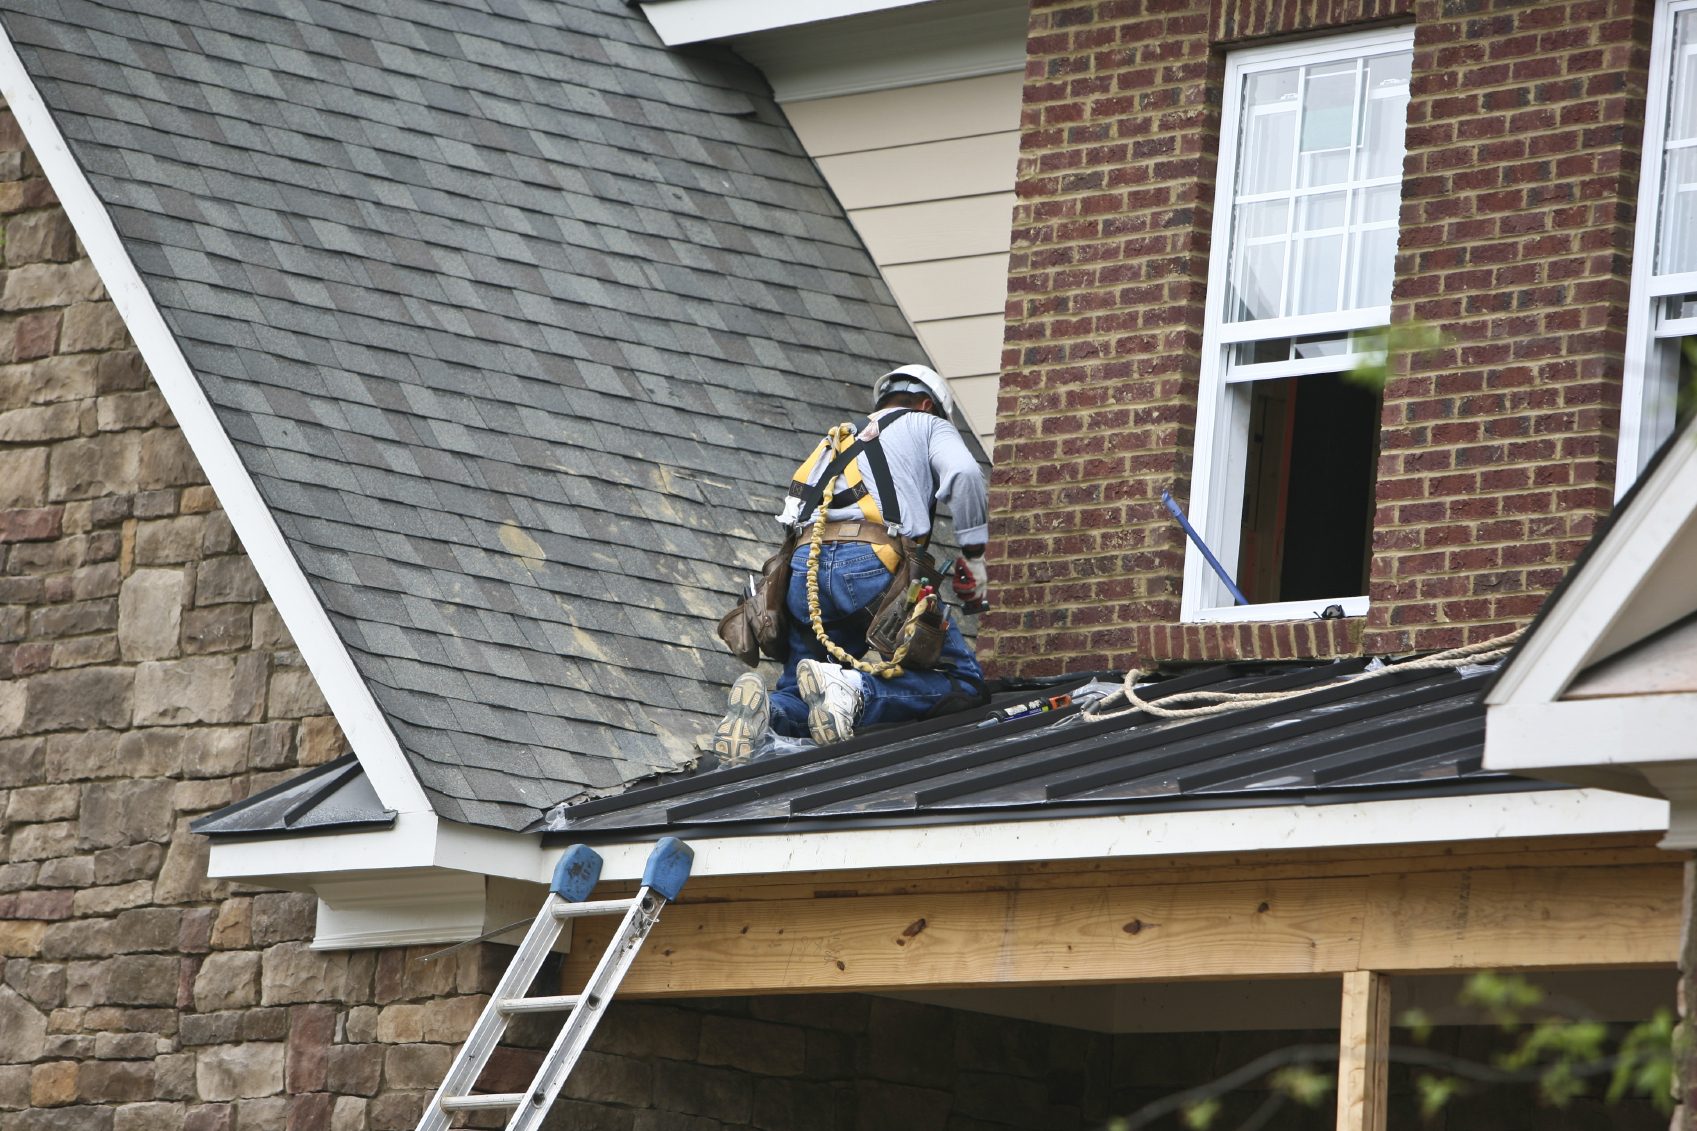
- Cutting the Metal Panels Metal roofing panels often need to be cut to fit specific sections of your roof, such as around vents, chimneys, or valleys. Use metal-cutting shears or a circular saw with a metal-cutting blade to make precise cuts. Make sure to wear safety gear, including gloves and eye protection, as cutting metal can create sharp edges and flying debris.
- Nail Down the Panels Once the panels are positioned, it’s time to fasten them to the roof. Use special roofing nails designed for metal roofing installation. These nails should have a wide, flat head to prevent water from seeping through. Ensure that the nails are driven into the high points of the panels, as nailing through the low points can cause leaks. Space the nails evenly, approximately 12-18 inches apart, depending on the manufacturer’s recommendations.
- Install Ridge Caps and Flashing After securing the panels, it’s time to install the ridge caps. These caps cover the seams along the roof’s ridges, providing protection from wind and water. Flashing should also be installed around roof valleys, chimneys, and any other areas where the roof meets a vertical surface. Flashing is important to prevent water from getting under the roofing material and causing damage.
- Final Inspection After the installation is complete, conduct a thorough inspection of the roof. Check for any loose panels, exposed nails, or gaps in the flashing. Ensure that all seams are properly sealed and that the roof is secure.
How To Install Metal Roofing For Your Home: A Complete Guide
Metal roofing installation is a project that requires proper preparation and attention to detail. By following a step-by-step guide, you can achieve a roof that will provide long-term benefits, such as enhanced energy efficiency and protection against extreme weather. Metal roofs are known for their durability, and with the right installation, they can last up to 50 years or more.
To make the installation process smoother, it’s essential to understand the various types of metal roofing materials available. Some of the most common options include:
- Steel Roofing: Steel is one of the most popular materials for metal roofing. It is lightweight, durable, and cost-effective.
- Aluminum Roofing: Aluminum is resistant to corrosion and is ideal for coastal areas with salt exposure.
- Copper Roofing: Copper roofing is aesthetically pleasing and extremely durable, but it is typically more expensive than other metal roofing options.
- Standing Seam Metal Roofing: This type of roofing features interlocking panels that are ideal for preventing leaks, especially in regions with heavy rainfall.
Each of these materials offers unique advantages, so it’s important to choose the one that best suits your home’s needs. Once you’ve selected your roofing material, follow the installation steps outlined above for a secure and long-lasting roof.
Installing Metal Roofing: Tips and Tricks for Your Home
Here are some additional tips and tricks to make your metal roofing installation smoother:
- Work with a Partner Metal roofing panels are large and can be difficult to maneuver alone. It’s always a good idea to have a second person to help you handle the panels, especially when installing them on steep roofs.
- Weather Conditions Matter Metal roofing installation should be done during dry weather conditions. Installing in wet or windy conditions can make the process more difficult and dangerous. Additionally, avoid installing metal roofing on extremely hot days, as the metal can become slippery.
- Use Safety Equipment Safety should be your top priority during the installation process. Always wear a helmet, gloves, and protective eyewear to guard against potential injuries from falling debris or sharp edges on the panels.
- Seal Seams and Fasteners Metal roofs are prone to leaks at the seams and fasteners. Make sure to use high-quality roofing sealant to seal all seams and fasteners to ensure the roof is watertight.
- Proper Ventilation A well-ventilated attic is essential when installing metal roofing. Without proper ventilation, moisture can build up under the roof, leading to rust and mold growth. Ensure your home’s attic is equipped with sufficient vents to maintain airflow.
- Consider Hiring Professionals While DIY metal roofing installation is feasible for experienced homeowners, hiring a professional roofer can save you time and effort. They have the tools, knowledge, and experience to ensure a high-quality installation.
Final Thoughts
Metal roofing installation is a great investment for your home. It enhances the aesthetic appeal, improves energy efficiency, and offers long-term protection. Whether you choose steel, aluminum, or copper roofing, following a well-structured installation process is key to ensuring that your roof lasts for decades.
If you’re not confident in your DIY skills, or if you want to ensure that the job is done properly, consider hiring a professional roofing company. They will bring the necessary expertise and equipment to install your metal roof effectively.
In conclusion, metal roofing installation is a valuable skill for homeowners, but it’s important to approach it with the right preparation and safety measures. By following the steps and tips provided in this guide, you’ll be well on your way to installing a metal roof that will protect your home for years to come.
If you’re looking for a trusted roofing company to assist with your project, consider visiting Faver Roofing. They specialize in metal roofing installation and other roofing services, offering professional expertise to help you get the job done right. Their experienced team ensures that each project is completed with care and precision, making them a reliable choice for homeowners seeking quality roofing services.